
Vegan Globetrotter is supported by our audience. When you purchase through one of our links, we may earn a small affiliate commission. As an Amazon Associate I earn from qualifying purchases. Your cost is not affected.
==================
Cooking perfect brown rice can feel like a culinary quest – a journey fraught with the peril of crunchy kernels or a disappointing mushy mess. But fear not, fellow rice enthusiasts!
This guide will be your secret weapon for achieving consistently fluffy, flavorful brown rice that elevates any dish.
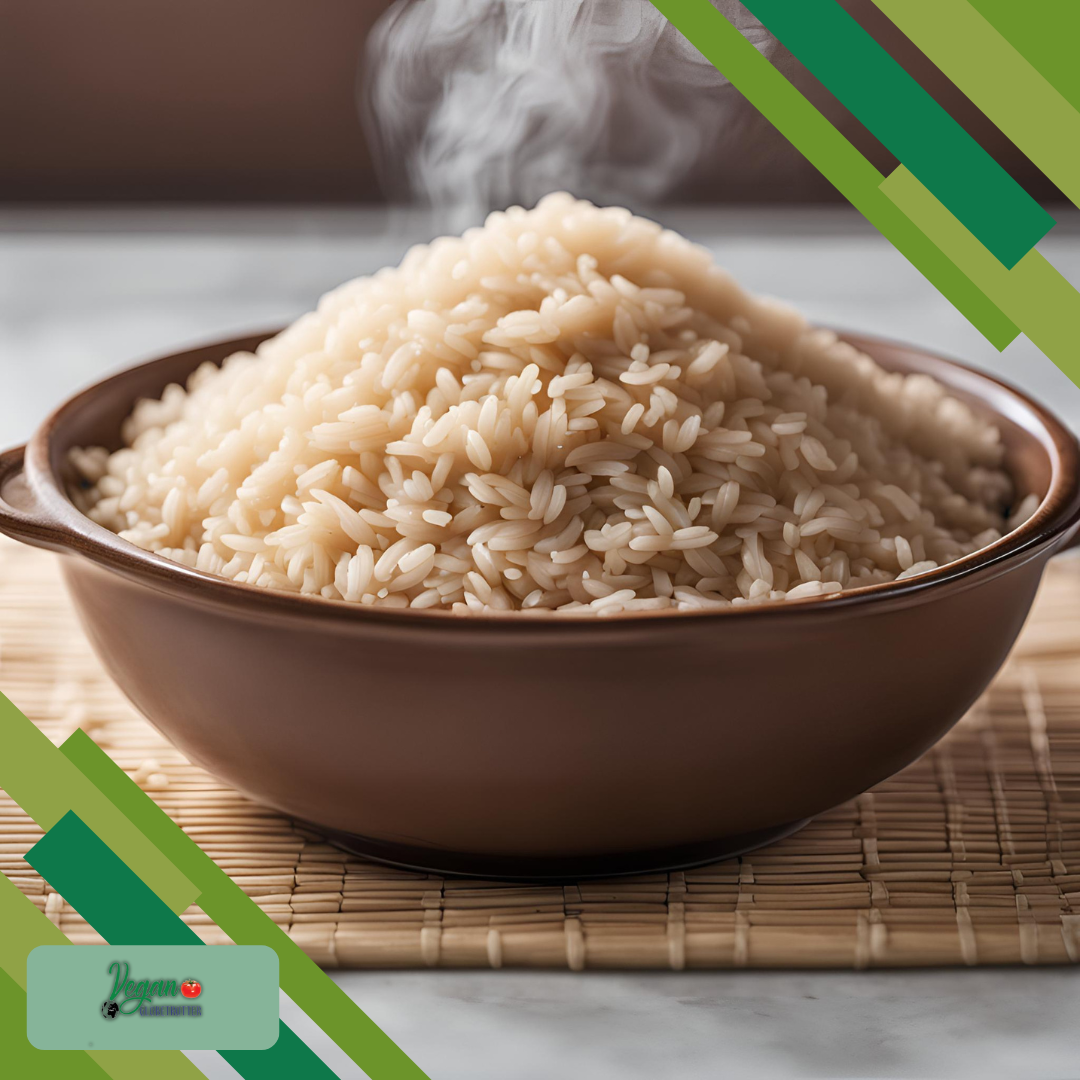
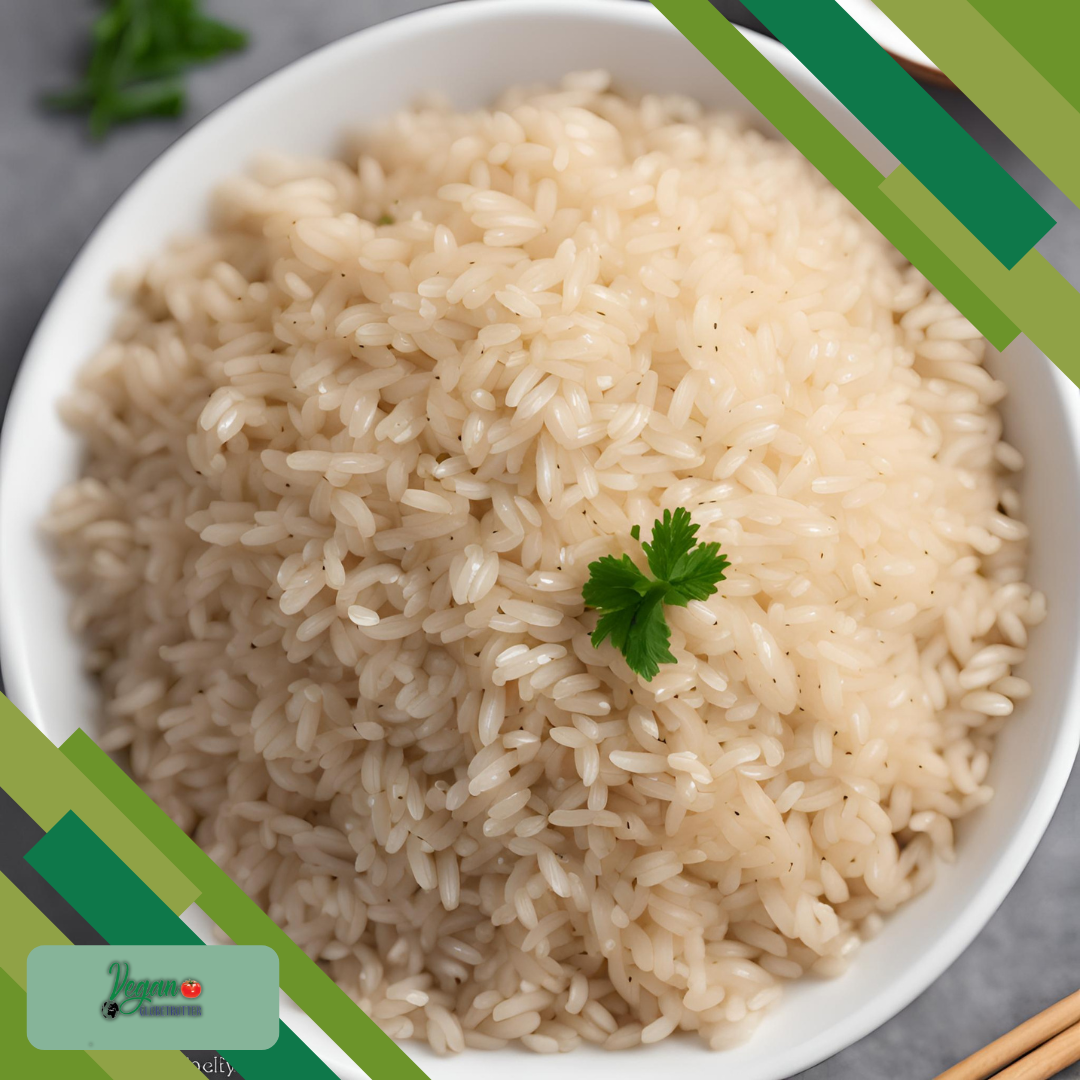
How to Cook Perfect Brown Rice: No More Crunchy or Mushy Rice!
Cooking perfect brown rice is a culinary goal for many health-conscious cooks.
Though it may seem simple, it involves much more than just boiling grains in water.
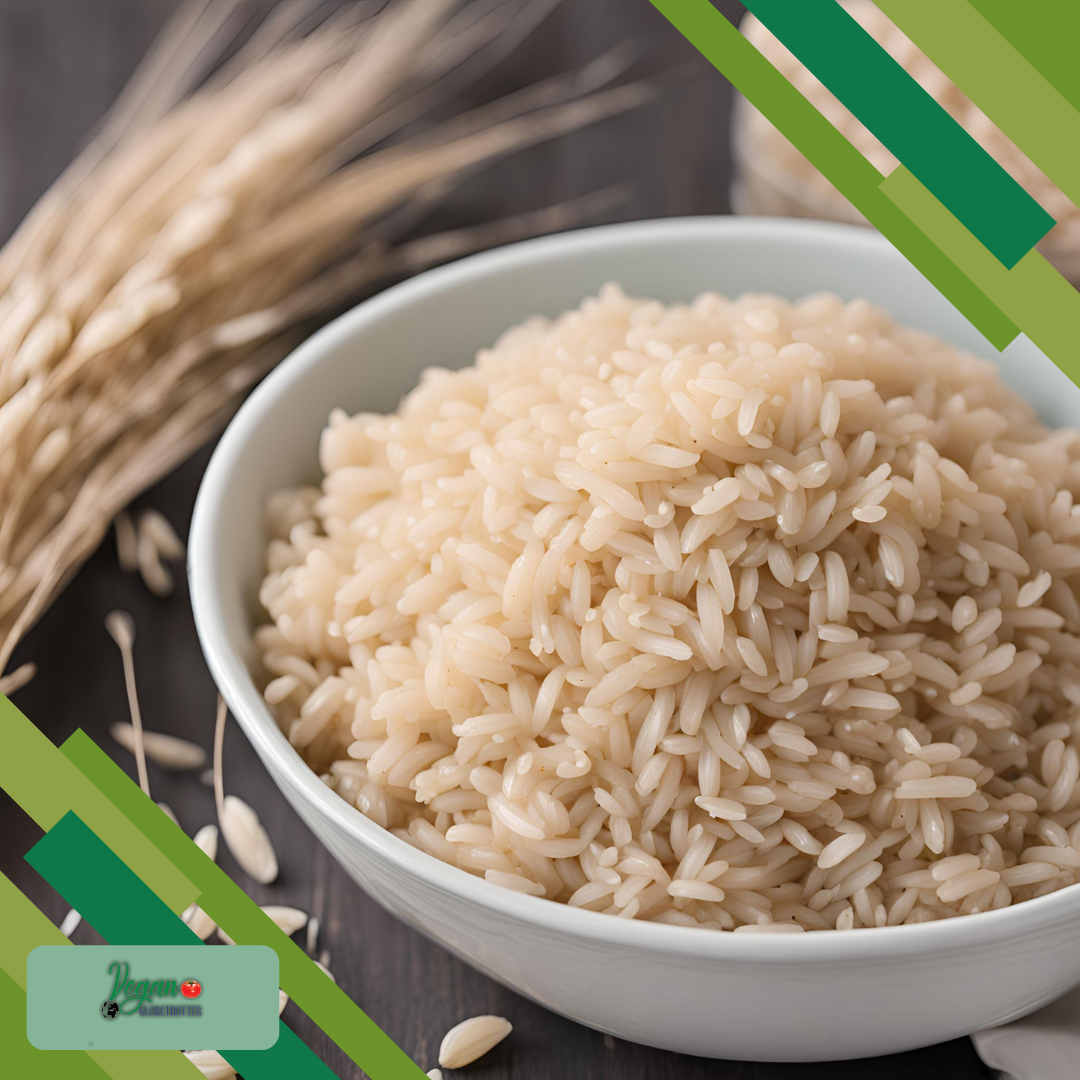
Brown rice, a whole grain packed with essential nutrients, can be a little more challenging to cook than its white counterpart due to the presence of bran and germ layers.
These layers give brown rice its nutty flavor and chewy texture, but they also require a slightly modified cooking approach to achieve that desirable fluffy consistency.

The basics of cooking brown rice involve using the correct ratio of water to rice, choosing the best tools for the task, and understanding the nuances of various cooking methods, whether stove-top or oven-baked.
Proper preparation before cooking, including rinsing and soaking, can significantly impact the texture and flavor of the cooked rice.
Post-cooking techniques, such as steaming and fluffing with a fork, also contribute to preparing a perfectly cooked batch.
If issues arise, knowing how to troubleshoot can mean the difference between success and a sticky, undercooked, or overdone result.
Key Takeaways
- Utilizing the right water-to-rice ratio is crucial for fluffy brown rice.
- Adequate soaking and rinsing influence texture and flavor.
- Properly steaming and fluffing the rice are essential finishing steps.
Understanding Brown Rice
In cooking perfect brown rice, it is essential to select the right type and understand its health benefits.
Types of Brown Rice
Brown rice, the whole grain form of rice, retains its nutritious bran and germ layer after only the hull is removed. I categorize brown rice based on grain size:
- Short-Grain: This rice is plump and almost round. It has a creamy texture when cooked, making it excellent for risottos and sushi.
- Medium-Grain: A bit longer than short-grain, it’s more chewy and has a stickier texture, suitable for dishes like paella.
- Long-Grain: Identified by its long, slender kernels, this type remains fluffy and separate after cooking, ideal for salads and pilafs.
Nutritional Benefits
I recognize brown rice as a nutrient-dense food, offering several health benefits, such as:
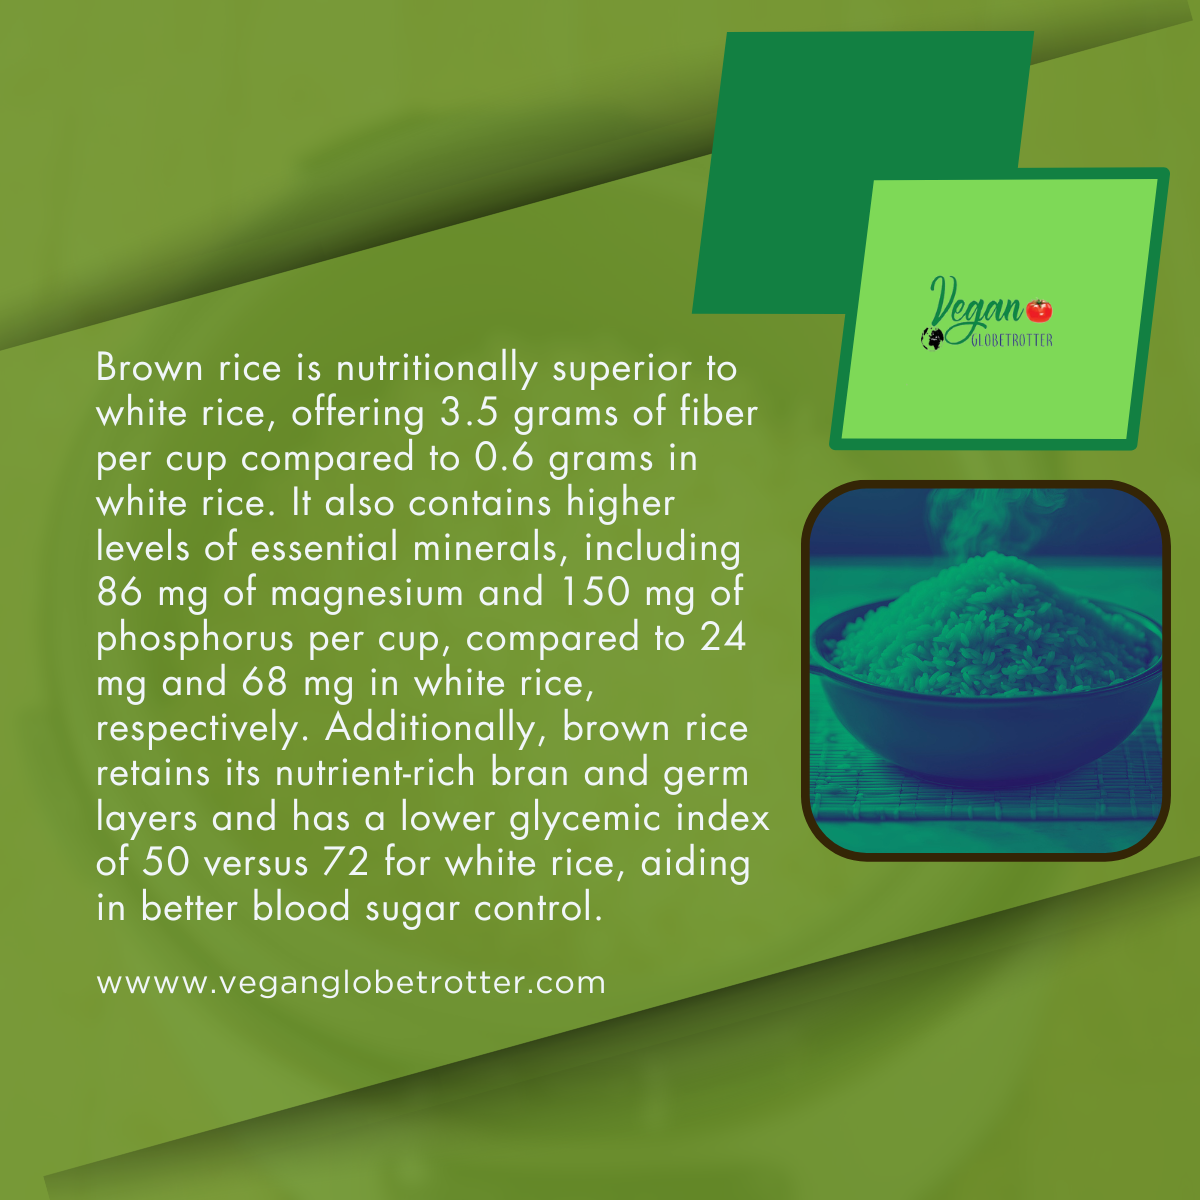
- High in Fiber: One cup of cooked brown rice provides about 3.5 grams of fiber, supporting digestive health.
- Rich in Vitamins: It is a good source of essential vitamins, including B vitamins, which aid in energy metabolism in the body.
By consuming brown rice, I also take advantage of its mineral content, with significant amounts of magnesium and selenium, which are key to maintaining healthy bones and a strong immune system.
Essential Tools and Equipment
When I prepare brown rice, there are several tools and equipment I consider essential to ensure it turns out just right every time.
Fine Mesh Colander: A fine mesh colander is indispensable for rinsing brown rice thoroughly. This removes excess starch which can make your rice gummy.
Heavy-Bottomed Pot: I use a heavy-bottomed pot to prevent burning. This kind of pot ensures even heating, which is vital for achieving perfectly cooked brown rice.
Rice Cooker: For those who seek convenience and consistency, a rice cooker is a great investment. It takes the guesswork out of the process.
Measuring Cups: Accurate measurements of both water and rice are crucial. I always use measuring cups to keep the ratio on point for perfect tenderness.
Spatula or Wooden Spoon: To fluff the rice after cooking, I find a spatula or wooden spoon works best. This helps prevent the rice from becoming too compact.
Here’s a quick checklist:
- Fine Mesh Colander
- Heavy-Bottomed Pot with Lid
- Rice Cooker (optional but helpful)
- Measuring Cups
- Spatula or Wooden Spoon
Make sure to have these items on hand, and you’ll be well on your way to cooking brown rice that is delicious and perfectly textured every time.
Preparation Before Cooking
Cooking perfect brown rice starts long before turning on the stove. It begins with two essential steps: rinsing the rice to remove impurities and soaking it for optimal texture.
Rinsing the Rice
I make sure to rinse brown rice thoroughly to eliminate any debris and excess starch. A fine-mesh strainer is my tool of choice for this task.
I run cold water over the rice until it runs clear. This process helps prevent the rice grains from clumping together and improves the overall texture of the finished dish.
- Obtain a fine-mesh strainer
- Place 1 cup of brown rice in the strainer
- Rinse under cold, running water until the water is clear
Soaking the Rice
Soaking brown rice is a step that I find vital for achieving perfectly cooked grains. It helps to reduce cooking time and makes for more evenly cooked rice.
I usually soak the rice for at least 30 minutes, although some recipes recommend a soak time of up to 90 minutes to improve texture and absorption.
- Immerse rinsed rice in a bowl of water
- Ensure rice is completely covered by water
- Soak for 30 to 90 minutes
- Drain rice thoroughly with the strainer before cooking
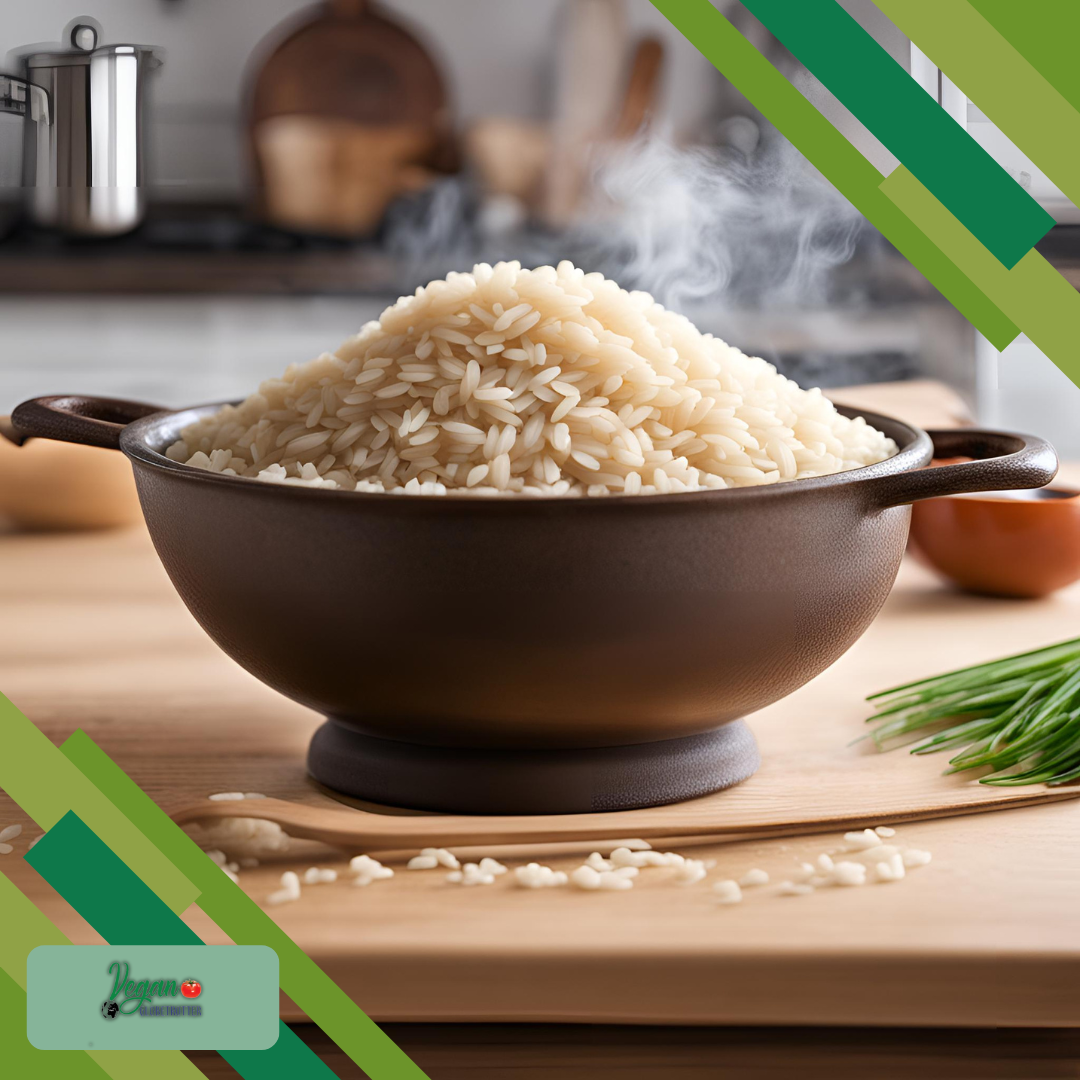
Cooking Methods
In my experience, cooking perfect brown rice comes down to choosing the right method that fits your preferences and kitchen equipment. Below, I describe the various techniques I’ve used to achieve fluffy, tender, and delicious brown rice.
Stovetop Method
For stovetop cooking, I start by rinsing the rice under cold water to remove excess starch.
I bring water to a boil in a saucepan, using about 2 cups of water for every cup of rice. Here’s a stovetop guide from WellPlated.com for reference.
Once boiling, I add the rice, reduce the heat to low, cover the pot, and let it simmer until the water is fully absorbed, which typically takes about 45 minutes.
I then remove the pot from heat and let it sit, covered, for 10 minutes to steam, which helps make the rice even fluffier.
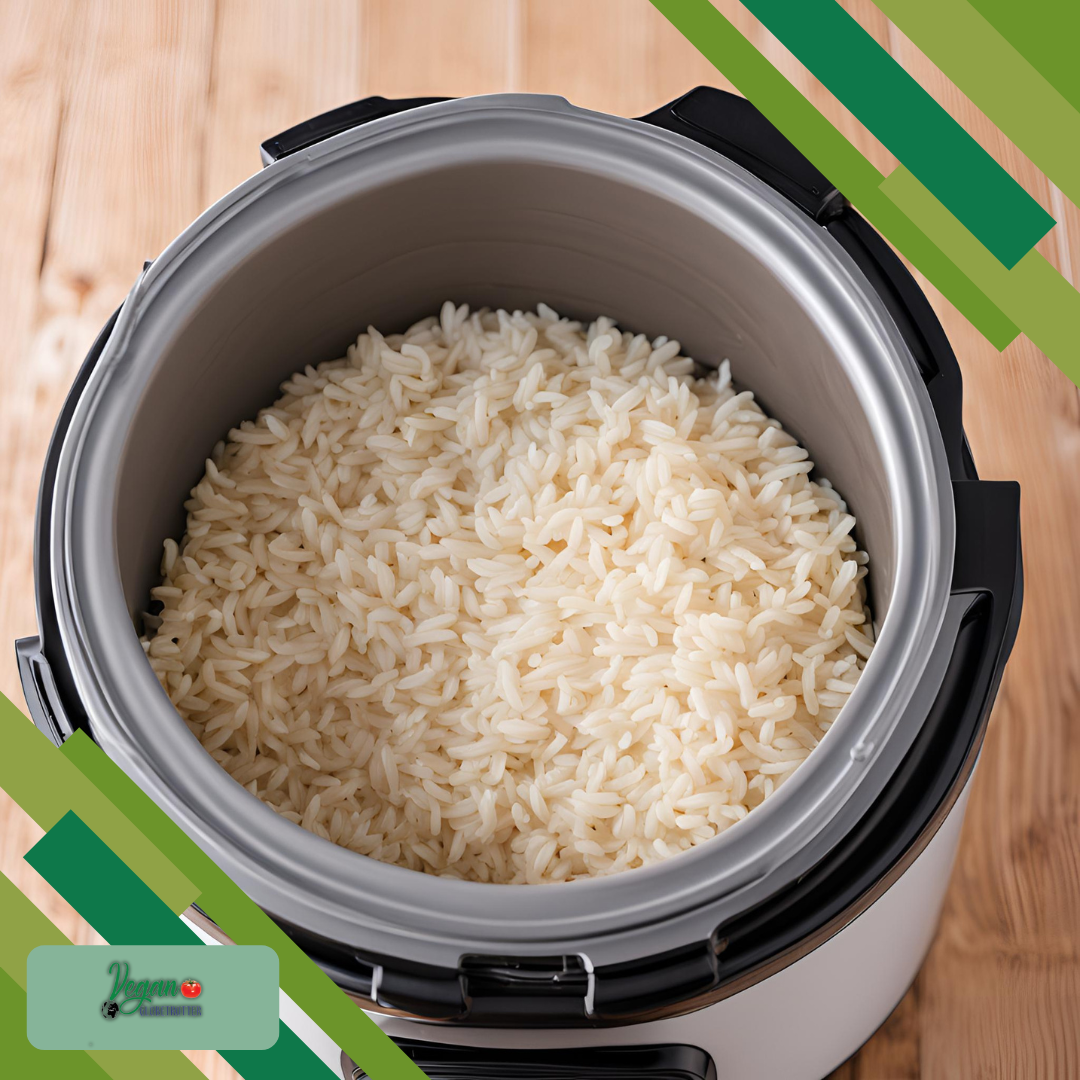
Rice Cooker Method
When using a rice cooker, I follow the machine’s guide for the water-to-rice ratio, which is often provided.
I rinse the rice, add water and rice to the cooker, and select the ‘brown rice’ setting if available.
My rice cooker takes care of the rest, providing a no-fuss cooking process and consistent results.
Rice cookers often have a ‘keep warm’ feature, making them convenient for holding the rice at the perfect temperature until it’s time to serve.
Oven Baking Method
Baking brown rice in the oven is a set-it-and-forget-it method that works well for me when I have other dishes to prepare.
I preheat the oven to 375°F (190°C), rinse the rice, then stir it into a boiling broth or water in an oven-safe dish. You can find details on the oven technique at RecipeTin Eats.
The ratio is similar to the stovetop, and after covering the dish with a snug lid or foil, I bake it for about an hour. After baking, I let it rest for a few minutes before fluffing with a fork.
Post-Cooking Techniques
Once I’ve cooked my brown rice, I know that the next steps are critical to ensure it’s perfectly fluffy and ready to serve. These post-cooking techniques are simple but make all the difference in texture and taste.
Resting Time
After cooking, I always let my brown rice rest.
This pause allows the grains to absorb any remaining steam and moisture, resulting in a better texture.
As recommended by Cookie and Kate, I leave the rice to rest off the heat, covered, for about 10 minutes.
This step is crucial; skipping it can lead to a less desirable consistency.
Fluffing and Serving
The art of fluffing the rice with a fork is essential before serving.
It separates the grains gently, which prevents clumping and releases any extra steam.
Once fluffed, my brown rice is ready to be served immediately.
For an additional tip from Love and Lemons, I sometimes add a drizzle of olive oil before fluffing to enhance the flavor and aid in the separation of grains.
Troubleshooting Common Issues
In my experience, most problems when cooking brown rice come down to water proportions and achieving the right texture. Let’s address these common issues.
Adjusting Water Ratios
If your brown rice consistently turns out too dry or too soggy, it’s likely an issue with the water-to-rice ratio.
- Too Dry: If the rice is dry and undercooked, I tend to add an extra 1/4 cup of water for each cup of rice on the next attempt.
- Too Wet: Conversely, if it’s too wet, I reduce the water by 1/4 cup. Remember to let the rice stand covered for 10 minutes after cooking, as it continues to absorb moisture.
Texture Fixes
Achieving the perfect texture can be tricky, but I’ve got a couple of methods up my sleeve:
- Fluff with a Fork: After cooking, fluffing the rice with a fork can make a big difference. It separates the grains and prevents clumping.
- Rinsing the Rice: For firmer grains, always rinse the rice before cooking to eliminate excess starch.
Storage and Reheating Best Practices
When it comes to storing brown rice, I ensure it’s completely cool before transferring it to an air-tight container. I refrigerate it promptly, which is crucial to prevent bacterial growth. For optimal freshness, I aim to use it within five days.
Here are my steps for refrigerating and reheating brown rice:
Refrigeration:
- Allow rice to cool to room temperature.
- Place rice in an airtight container.
- Store in the refrigerator for up to 5 days.
Reheating:
- To reheat using a microwave, place the rice in a microwave-safe dish.
- Sprinkle some water over the rice to add moisture.
- Cover the dish loosely with a damp paper or a microwave-safe lid.
- Heat on high for 1 to 2 minutes, stopping to stir for even heating.
- To reheat on the stovetop, add the rice to a saucepan with a splash of water.
- Cover with a lid to trap steam.
- Heat on low, stirring occasionally until warmed through.
For food safety, make sure that the reheated rice reaches 165°F (74°C), which is the safe temperature for consuming leftover food.
For more on safely reheating rice in the microwave, I consult: How to Store Cooked Rice Safely—and the Best Way to Reheat It.
Cook Perfect Brown Rice: Enjoy Fluffy, Flavorful Grains Every Time
Forget mushy or crunchy brown rice! This guide has walked you through everything you need to know to achieve perfectly cooked brown rice, bursting with flavor and texture. We’ve covered the importance of water-to-rice ratio, explored soaking techniques, and unpacked the pros and cons of stovetop, rice cooker, and even oven-baking methods. You’ve learned how resting and fluffing are crucial for a light and fluffy end result, and discovered troubleshooting tips to address dryness or mushiness.
Remember, brown rice isn’t just a nutritional powerhouse – when cooked right, it boasts a delicious nutty flavor that elevates any dish. So ditch the fear of undercooked or overdone rice, and put your newfound knowledge to the test! Ready to cook perfect brown rice? Grab your favorite recipe and get started today!
Frequently Asked Questions
I’ve compiled some of the most common questions regarding the preparation of brown rice to ensure you achieve perfect results.
What is the optimal water-to-rice ratio for brown rice?
The optimal water-to-rice ratio for brown rice is typically around 2 1/2 cups of water for every 1 cup of brown rice. However, I recommend referring to the specific instructions of the brown rice brand you are using.
Should brown rice be soaked prior to cooking, and if so, for how long?
Yes, soaking brown rice before cooking can reduce overall cooking time and improve texture. Soak the rice for 30 minutes up to several hours. This process helps to soften the grains and can lead to fluffier rice.
How long does it take to cook brown rice on the stove?
To cook brown rice on the stove, it generally takes about 45 minutes after the water has come to a boil. However, I check the rice for doneness after about 30 minutes and adjust the cooking time as necessary.
Can brown rice be cooked effectively in a rice cooker, and what are the steps?
Yes, brown rice can be cooked effectively in a rice cooker. Simply rinse the rice, add the appropriate amount of water (check your rice cooker’s guide), and select the ‘brown rice’ setting if available. The machine will handle the rest.
What are some steps to cook brown rice quickly without sacrificing quality?
To cook brown rice more quickly, use a method that involves boiling the rice in plenty of water for 30 minutes, then draining and allowing it to steam in the pot, covered, for 10 additional minutes off the heat.
How much brown rice should be served per person?
A standard serving size of brown rice is about 1/2 cup of cooked rice per person.
But this can vary depending on appetite and whether the rice is a main dish or a side.
Craving Delicious Vegan Travel & Food Inspiration?
Fuel your wanderlust and appetite with Vegan Globetrotter! We’re all about exploring the world through a plant-based lens, sharing recipes, travel tips, and hidden-gem finds. Join our vibrant community on Facebook, Instagram, Pinterest, Twitter, and YouTube for mouthwatering inspiration and friendly plant-powered connections!

Don't miss out
when new recipes and information are added!
Join our newsletter for free recipes,
healthy living inspiration, and special offers
You have Successfully Subscribed!