Vegan Globetrotter is supported by our audience. When you purchase through one of our links, we may earn a small affiliate commission. As an Amazon Associate I earn from qualifying purchases. Your cost is not affected.
==================
Hey, kitchen enthusiasts! Ready to elevate your kitchen game? Let’s dive into the world of Mastering the Art of Sharpening Kitchen Shears. Are you wondering how to sharpen kitchen shears like a pro?. Whether you’re a seasoned chef or a home-cooking maestro, keeping those shears razor-sharp is the secret sauce for smooth, precise cuts. Join us as we unravel the tricks and tips to make your kitchen shears your culinary sidekick!
Why is Having Sharp Kitchen Shears Essential in Your Culinary Arsenal?
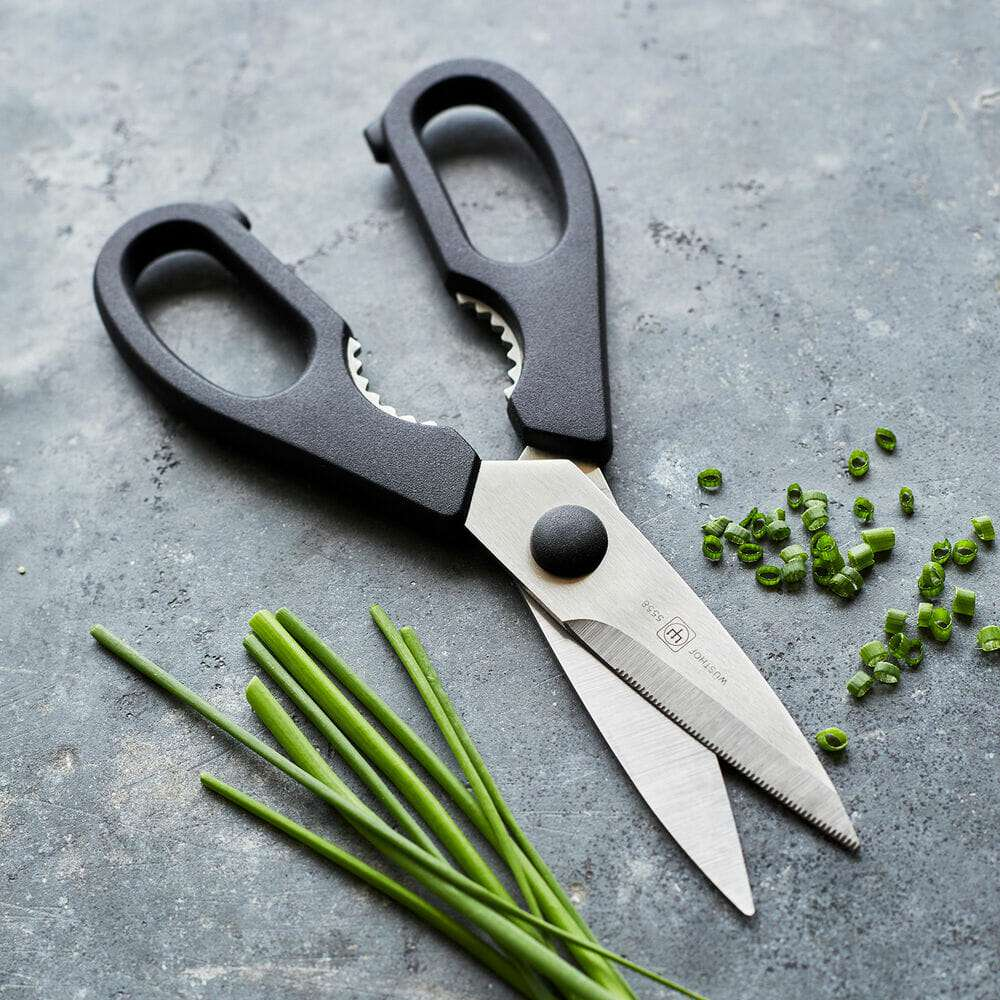
Photo by: Simply Recipes
Let’s talk about why rocking a sharp pair of kitchen shears, or as some call them, kitchen scissors, is an absolute game-changer in your culinary domain. Here’s the lowdown on why these bad boys are a must-have in your kitchen arsenal:
Effortless Cutting Magic
Picture this – tough meats, herbs, veggies, and even packaging bowing down effortlessly to your sharp kitchen shears—no more tearing or bruising – just clean, precise cuts every time.
Jack-of-All-Trades
They’re the multitasking wizards of the kitchen. Need to trim herbs and open a stubborn package? Your trusty shears have got your back.
Precision on Point
Sharp kitchen shears are your precision partners for delicate tasks like snipping herbs or trimming veggies.
Safety First
Dull scissors causing kitchen chaos? Sharp shears to the rescue! They slice smoothly, reducing the risk of slips and cuts.
Convenience is Key
Say goodbye to juggling multiple tools during meal prep. These shears are kitchen superheroes that handle various tasks, saving time and effort.
A sharp pair of kitchen shears isn’t just an accessory; it’s your kitchen sidekick, enhancing efficiency and turning your cooking adventures into a breeze. So, if you have dull kitchen shears, it’s time for you to sharpen your kitchen shears.
How to Sharpen Kitchen Shears?
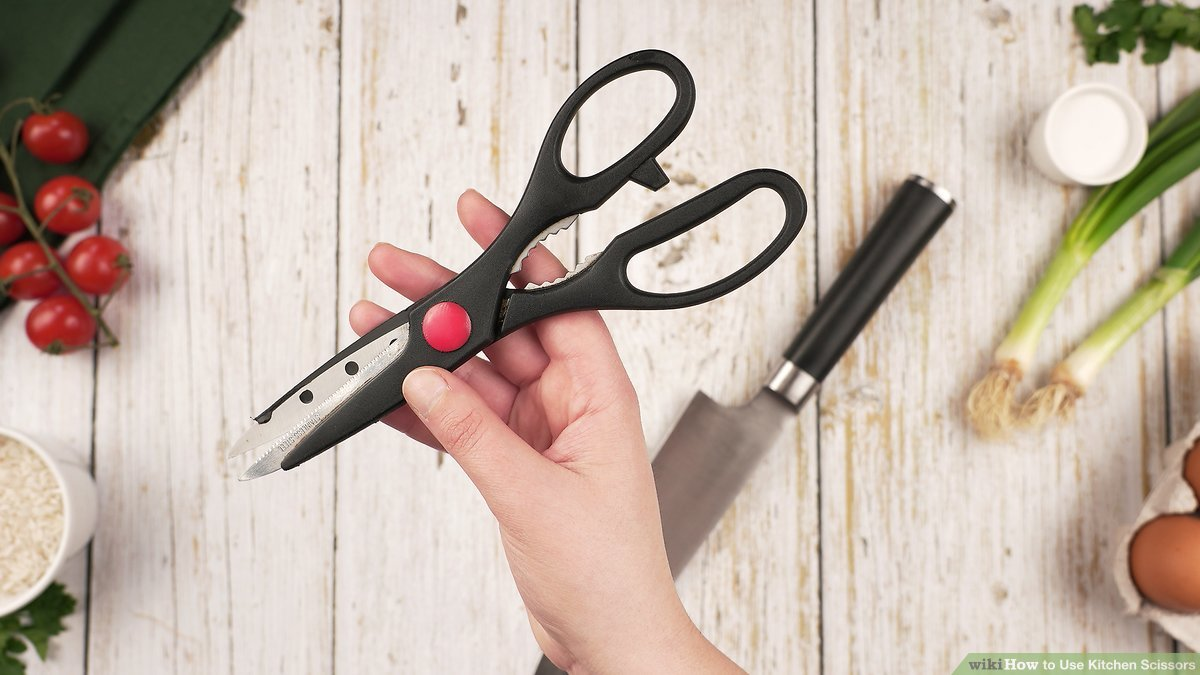
Photo by: wikiHow
Let’s talk about sharpening scissors – we all know the struggle when those blades start losing their edge. But no worries, here’s a different method for sharpening kitchen shears.
Whetstone Method
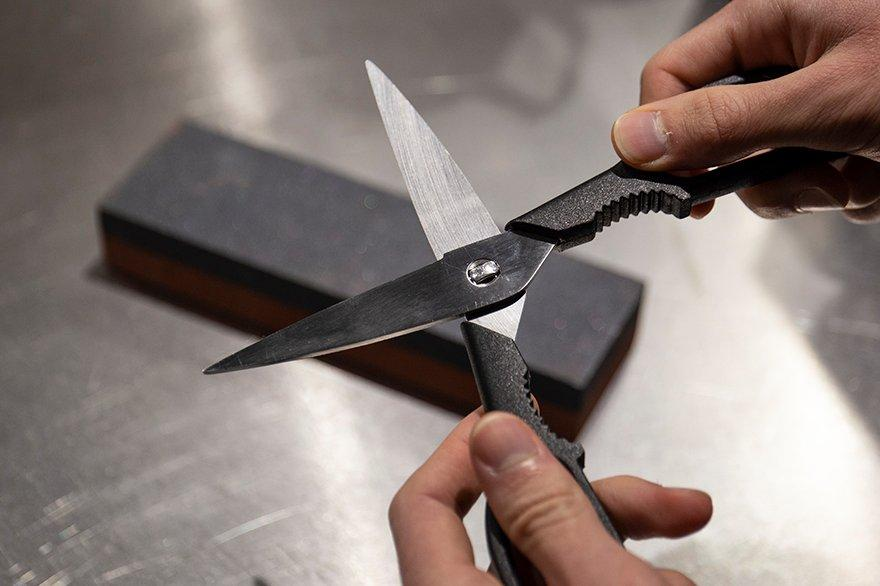
Photo by: Knivesandtools
Have you got a whetstone for sharpening? Awesome! Here’s a straightforward guide to sharpening kitchen scissors:
- Place the whetstone on a kitchen towel, with the coarse side facing up for effective sharpening.
- For a better grip, consider separating the scissor blades and the plastic handles from each other (Optional but helpful).
- Now, focus on the beveled edge. Hold one blade with your dominant hand, lay the beveled side flat on the stone, and slide it across in straight, steady motions. Repeat up to twenty times for each blade.
- Shift to the flat edge of the blade. Lay it flat on the stone and repeat those smooth strokes like before.
- Flip the whetstone to the fine side facing up for a polished finish. Complete the sharpening process by repeating five strokes on each side of each blade.
There you have it – a simple way to sharpen kitchen scissors, ensuring a sharp edge for smoother cutting.
Sandpaper Method
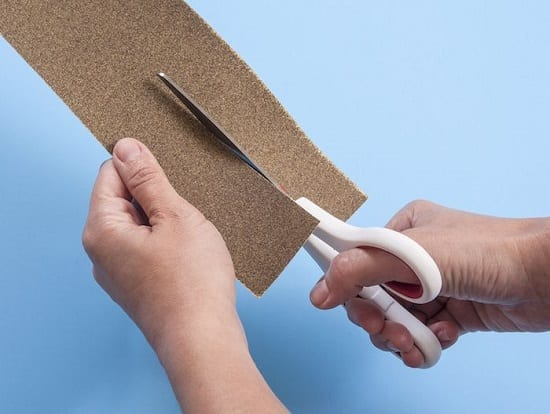
Ready to give those kitchen shears a tune-up? Grab a trusty sandpaper sheet (aim for 150 to 200 grit) and a clean cloth – we’re about to make those blades razor-sharp.
Here’s the lowdown:
- Fold the sandpaper in half, letting the smooth sides meet. Your goal is to have the coarse sides on the outside – got it?
- Now, grab your not-so-sharp kitchen shears. Dive in and cut through the coarse side of the sandpaper about ten to fifteen times, ensuring you cover the entire scissor blade. You can also scrub it to your shears. The friction created during this process helps to enhance the blade’s sharpness. If they still need to get up to snuff, keep cutting or scrubbing until you’re satisfied.
- Last but not least, grab a clean cloth and wipe down those shear blades. Clean them up, and you’re good to go.
There you have it – your kitchen shears are back in action.
Aluminum Method

Photo by: Daring Kitchen
No sandpaper? No problem! You can still give your kitchen scissors a little sharpening TLC using a simple household hero – aluminum foil (or tin foil).
Here’s the drill:
- Grab a sheet of aluminum that’s at least 10 inches long. Now, fold it lengthwise a few times, creating a nice, thick strip of aluminum foil. Those folded layers are like magic for sharpening the beveled edge of your somewhat dull scissors.
- Slice through the foil about ten to twenty times (or more if you’re going for that razor-sharp vibe). Just make sure the entire cutting edge glides through those layers.
- The last step is to grab a towel and give those blades a good wipe-down. Your sharpened kitchen scissors are now ready for action!
No fuss, no muss – just a quick fix for sharper scissors with a touch of aluminum foil magic. Time to snip and slice with confidence!
Honing Steel Method
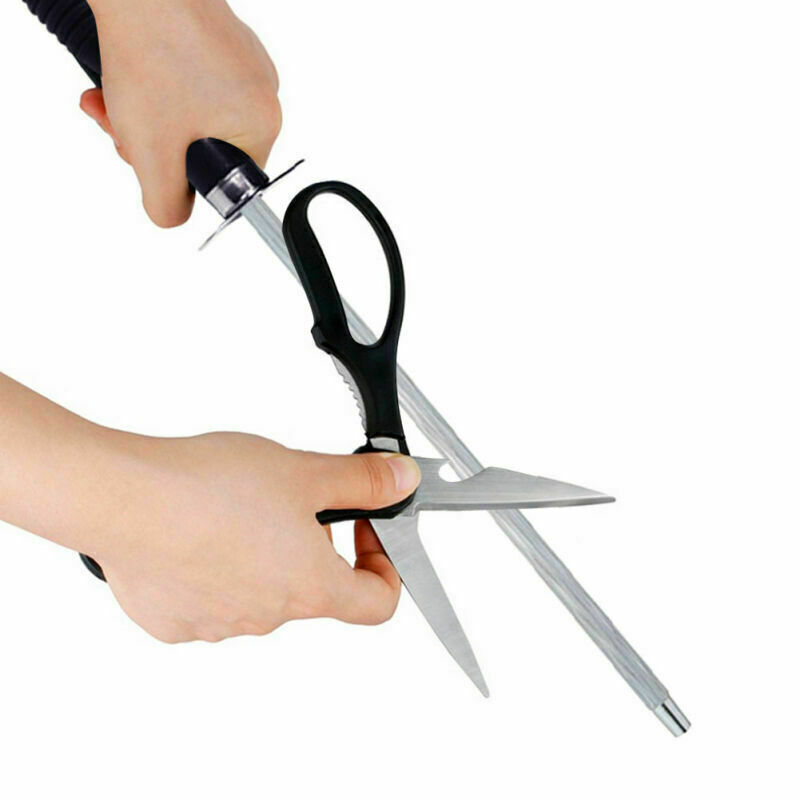
Photo by: eBay PH
Let’s talk about a classic way of sharpening your kitchen shears – and all you need is a honing steel, a nifty tool. Picture this: a long, slim rod made of steel or ceramic.
Here’s the scoop:
- Grab your shears in one hand and the honing steel in the other. You’re like a kitchen superhero armed with your tools.
- Now, the magic happens. Run the blade of the shears along the length of the honing steel. Don’t go all Hercules – apply gentle pressure, focusing on those edges.
- Flip those shears and repeat the whole dance on the other side of the blade. It’s like a little workout for your scissors.
There you have it – the honing steel hustle, a classic move for sharpening kitchen shears and getting those edges ready for serious snipping. Easy peasy, right?
There you go! Different methods to sharpen your shears. Remember, you can use these techniques on paper scissors, fabric shears, and pruning shears. Keep those blades sharp!
Tips to Sharpen Your Kitchen Scissors Like a Pro
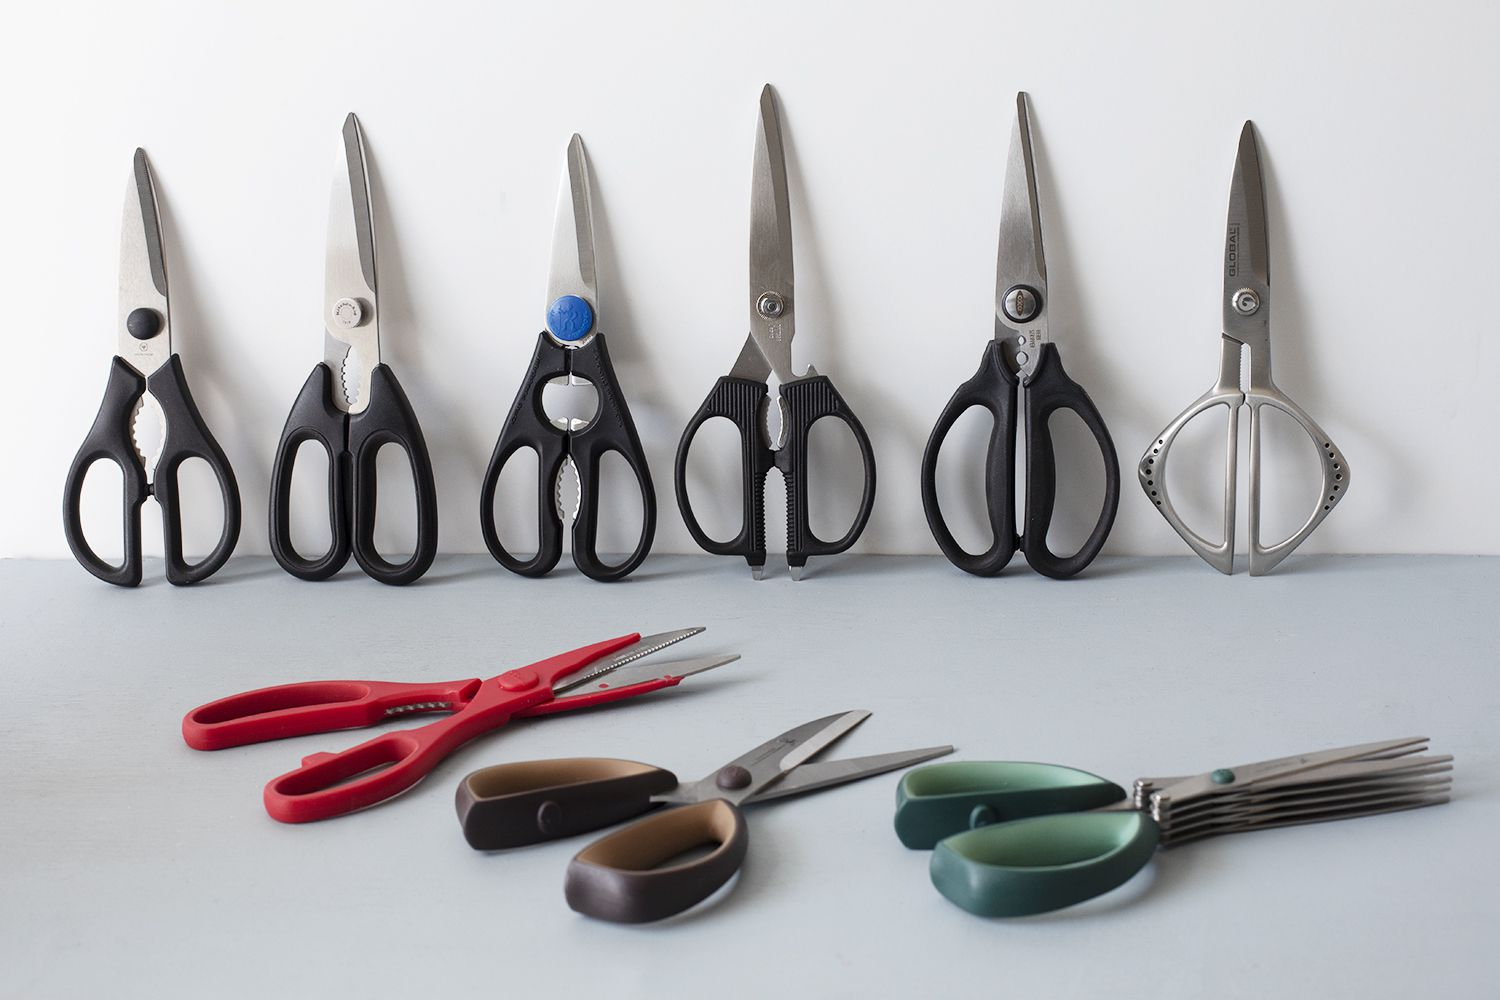
Photo by: The Spruce Eats
Sharpening kitchen shears got you scratching your head? Don’t worry – here are tips to make it a breeze, no matter which method you’re rocking.
Get the Perfect Edge When Sharpening
Remember to follow that same beveled angle when you’re in the sharpening game. It’s like giving your kitchen knives a tune-up – keeping that blade flat for optimal sharpness.
Ensure an Even Sharpening of Both Blades
Remember the golden rule when working with those sharpening stones. Whether it’s your chef’s knife or shears, run them across the stone or grind on them the same number of times. We’re aiming for that perfect angle and balance, so no side is sharper than the other.
Make Sure to Clean the Blades Afterward
Whether you’re team sharpening stone or sandpaper sheet, those scissor blades might pick up some tiny burrs – they’re like microscopic teeth and need a little cleaning. Easy fix, though – give the blades a good wipe on a paper towel or go all in by cutting through a sturdy piece of cardboard.
Here’s an additional video about sharpening your kitchen shears
Sharp Shears, Happy Kitchen
So there you have it – sharpening kitchen shears is a game-changer in the kitchen! Whether cutting through tough meats, snipping herbs, or opening packages, a sharp pair of shears makes everything smoother.
We explored different methods, from whetstone to sandpaper and aluminum foil. Remember to follow the beveled angle, sharpen both blades evenly, and clean off any burrs afterward.
Now armed with these tips, you’re all set to keep your kitchen shears in shape. A sharp pair not only makes cooking easier but also safer. Happy cooking!
FAQs
Can You Fix Rusted Scissors?
Have you got rusted scissors? No worries, we can fix that! Here’s the rundown:
- Gather Your Tools: You’ll need white vinegar, a bowl, and an old toothbrush.
- Dip and Soak: Dip those rusty blades into a bowl of white vinegar. Let them chill in there for about 15-30 minutes.
- Scrub: Grab that trusty toothbrush and gently scrub those blades to remove the rust.
- Dry and Protect: Once they’re rust-free, completely dry the scissors. Remember to add a light oil coating on the blades to keep them rust-resistant.
Ta-da! Your scissors are back in action, rust-free, and ready to snip away!
Is It Worth Sharpening Scissors?
Sharpening scissors is a great idea. It makes them cut better and faster, helps you be more precise, and even keeps you safer. Plus, sharp scissors last longer and can handle all sorts of tasks. So, yeah, totally worth it!
📌 Find Us on Social Media
🔹 Facebook: VeganGlobetrotter Join us on our Facebook page, VeganGlobetrotter, where we share mouthwatering plant-based recipes and tips to inspire your vegan lifestyle.
🔹 Instagram: _veganglobetrotter Follow us on Instagram at _veganglobetrotter to embark on a visual journey of delectable vegan dishes.
🔹 Pinterest: theveganglobetrotter Dive into the world of plant-based goodness and wellness with our Pinterest account, theveganglobetrotter.
🔹 Twitter: VeganGlobetrot Stay up-to-date with the latest vegan trends, insightful articles, and exciting updates by following us on Twitter at VeganGlobetrot.
🌍 Let’s embark on a vegan journey and a celebration of the vibrant world of vegan living! 🌱🌏

Don't miss out
when new recipes and information are added!
Join our newsletter for free recipes,
healthy living inspiration, and special offers
You have Successfully Subscribed!